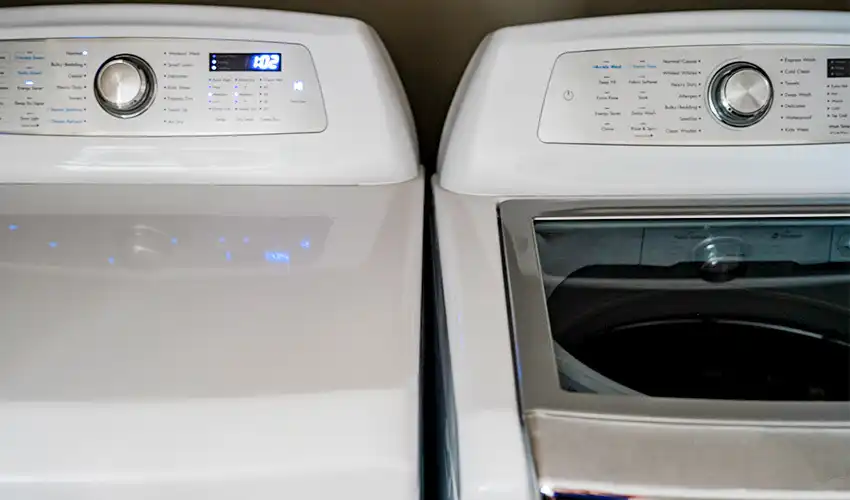
Are you moving into a new home? Did your washer or dryer conk out for good? Perhaps you just want an upgrade. The instructions in the owner’s manual may be simple, but the washer and dryer installation can be dangerous. Because installing the appliances involves both water and electrical systems (plus gas, if you’re adding a gas dryer), it's essential to connect everything correctly to avoid damage to the washer, dryer, or home.
Prepare for Washer and Dryer Installation
Before we dive in, make sure you have these tools on hand:
- Adjustable wrenches
- Bucket
- Pliers
- Standard level
- Towels
- Vent brush
Also, if you’re installing the new appliances in a location where there is not currently a washer or dryer, you’ll want to double-check a few things:
- The washer should plug into a standard 120-volt outlet.
- Hopefully, you will be installing the washing machine close to your hot water heater so you can tap into the outlet and inlet lines for your cold and hot water supply.
- Measure the length and width of the machine you are going to install to make sure it will fit easily into the installation space.
- Washers and dryers should sit on a sturdy, level floor. If not, the area under the machines can get damaged.
How to Install a Washing Machine
Here’s how Mr. Rooter® Plumbing handles washing machine installations:
Step 1: Disconnect and move the old machine out of the way
- Make sure the old washer drum is empty.
- Unplug the machine.
- Turn off and disconnect the hot and cold water supply hoses from the shut-off valves.
- Pull the old machine away from the wall.
- Disconnect the wastewater hose.
Step 2: Connect the hoses to the new machine
Your new washer should come with water supply hoses and all the necessary parts for a successful installation.
- Your technician will screw the water supply hoses to the connections on the back of the machine.
- The other ends of the hoses will attach to the hot and cold water supply valves.
Step 3: Install the drain hose
The drain hose will be attached to the back of the new washer and should drain into a sink or nearby standpipe.
- If the drain hose will drain into a sink, a plastic hose guide should be put in place to point the hose down into the sink to avoid kinking.
- Otherwise, the drain hose will attach to a standpipe.
- Once the drain hose is in place, the technician will turn on the water supply valves to check for leaks.
Step 4: Level the washing machine
This step is important to ensure the machine stays level and doesn't "walk" or bang around when turned on.
- Place a level on top of the washer.
- Adjust the legs on the bottom of the machine with locknuts on the frame.
- Test the machine's balance by placing the level in the center, right, and left of the unit to ensure it's perfectly level all around.
At this point, it’s time to plug in the washing machine and test it out!
How to Install a Dryer
Before you get a new dryer installed, you will need to make sure a few things are in place. If you had a dryer in the installation space before, it should already be set up for success. First, make sure you have a reliable exhaust vent. Most vents exit through a wall or roof of the house, whichever is closer. Secondly, make sure your power source is ready to go.
- If you have an electric dryer, you’ll need a 240-volt outlet, controlled by a set of 30- to 50-amp circuit breakers. If your electric dryer outlet does not meet these standards, contact our colleagues at Mr. Electric® for an outlet upgrade.
- If you have a gas dryer, you’ll need to install a gas line. We strongly recommend hiring a licensed plumbing professional for gas line installation.
Once everything is in order, follow these steps to install your new dryer:
Step 1: Clean the dryer vent hose
- It is imperative to clean out the dryer vent hose because a blocked duct can be a fire hazard. If you don’t have a vent brush, most home improvement stores carry them, and they are inexpensive.
- Go outside to remove the vent hood and clean out any debris at the exterior end as well.
Step 2: Attach the vent hose to the dryer
- The vent hose should fit easily over the vent hole on the back of the new machine.
- The vent hose is most commonly made out of metal vent duct material. Sometimes they are ribbed plastic or aluminum and thus may require clamps.
Step 3: Attach the vent hose to the wall vent
- Connect the other end of the vent hose to the wall vent.
- A metal hose, it should fit neatly without any need for clamps or tape. But if you have a more flexible tube, we recommend you use a circular clamp to keep it in place.
- Push the dryer into place.
Step 4: Plug it in
- If you have an electric dryer and already have the 240-volt outlet, go ahead and plug it in. If you’re not sure, call a licensed electrician to double-check and install one if needed.
- For a gas dryer, we recommend you get a licensed plumber to help because the gas in your home will have to be turned off and on again for a safe gas dryer installation.
Need Help With Washer and Dryer Installation?
Congratulations on your new washer and dryer! You will save time and avoid the potential dangers and hassle of DIY installation by scheduling an appointment with your local Mr. Rooter® Plumbing, and we’ll take care of the installation process for you!