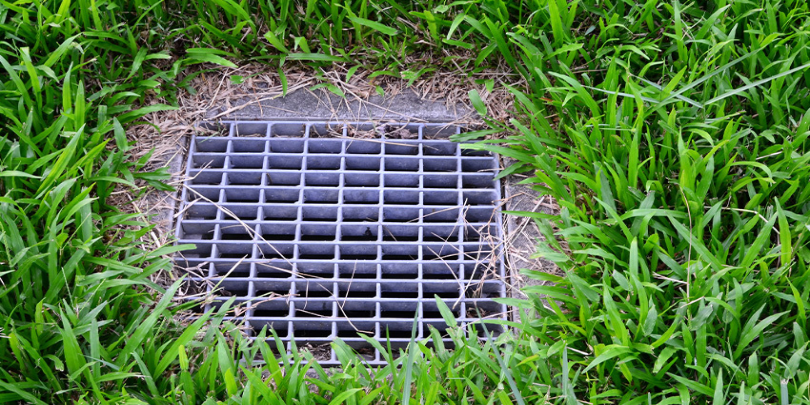
A drainage catch basin is an engineered drainage structure with the sole purpose of collecting rainwater or snowmelt and transporting it to local waterways, mainly through underground piping.
Catch basins can be particularly useful if you’re looking to collect and get rid of standing water—like water that pools under your rain gutter spout. If you have a problem with standing water on your property, building a drainage catch basin may be a good idea. After all, standing water can seep into the foundation of your home and cause expensive structural damage.
The good news is that catch basins can be fairly simple to assemble and install.
7 Steps to Building and Installing a Yard Drainage Catch Basin
These instructions outline general steps for homeowners to take after they’ve purchased a catch basin either online or from a local hardware store. Actual instructions may vary by type of catch basin being installed.
- Dig a hole that covers the width of the top of the basin and depth of the catch basin you’re installing. Make sure that the depth of the hole is 6-12 inches deeper than the depth of the catch basin, as you’ll need that space later on.
- Dig a gradually declining trench 8-inches wide and 18-inches deep from the catch basin to a safe place for the water to run; this is where you’ll be placing the piping.
- Before you go ahead and install your catch basin, you need to make sure the connection between the outlets and your catch basin is watertight. To do this, apply waterproof silicone around the hole on the outside of the basin. Insert the outlet into the hole and twist to lock into place. Some catch basins come with a gasket for a watertight seal.
- Once you’ve done this, flip the catch basin over and drill several small holes into the bottom of the basin, these holes will prevent water from standing in the bottom of the basin.
- You’ll then want to fill the excess 6-12 inches at the bottom of the first hole you dug with gravel and place the catch basin on top. The top of the basin should be level with the ground next to the basin, if it’s not, you’ll need to remove some gravel from the hole.
- You can now attach the drainpipe to the inlet on the catch basin. To make sure the connection between the two is watertight, put a bead of silicone around the outside of the drainpipe in the area where the pipe connects with the inlet on the catch basin.
- You’ll then need to glue each section of the drainpipe together until you reach the point where the water will drain.
When you’re happy that the connections are secure, fill in the trench with the soil that you’ve previously removed. Congratulations, you’ve successfully installed a drainage catch basin! If you still need help, contact your local Mr. Rooter® Plumbing. Give us a call or request a job estimate online.