Jun 16 2025
Simply visit your local toilet specialist, pick the first toilet you see, and hire a plumber to install it. Yet, there’s more to the process than meets the eye.
Learn more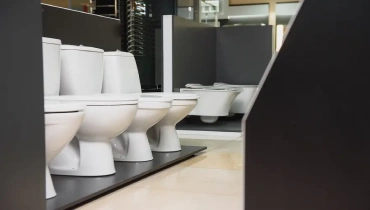
Simply visit your local toilet specialist, pick the first toilet you see, and hire a plumber to install it. Yet, there’s more to the process than meets the eye.
Learn more
Have you experienced that heart-in-your-throat moment where the water in your toilet rises, rather than flows away? It can be a moment of panic, especially when you don’t want to be dealing with a toilet water mess all over your floor!
Learn more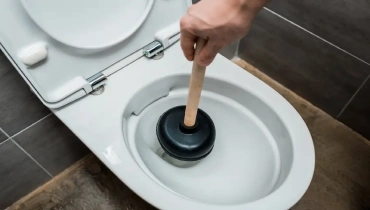
Reverse osmosis (RO) describes a process where pressure forces water through a semi-permeable membrane to create treated water, known as permeate, and reject water, called brine or concentrate.
Learn more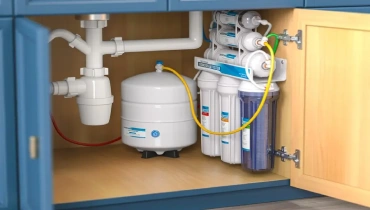
Every little drip counts when it comes to your water bill. Even a small leak from an outdoor faucet left unfixed can cost you hundreds of dollars more.
Learn more
We are fortunate in that the vast majority of Canadians have access to fresh, clean drinking water.
Learn more
If your showerhead or faucet drips, your water temperature fluctuates, or you’re having difficulty turning the shower handle, all signs point to a failing shower cartridge.
Learn more

Since the original Mr. Rooter was founded in 1970, the company has remained committed to a set of core values that are rooted in performing quality work at honest prices. Nearly half a century later, the original Mr. Rooter business is still servicing homes and businesses in North America. We are still independently owned and operated, with strong ties to the community that made it all possible.