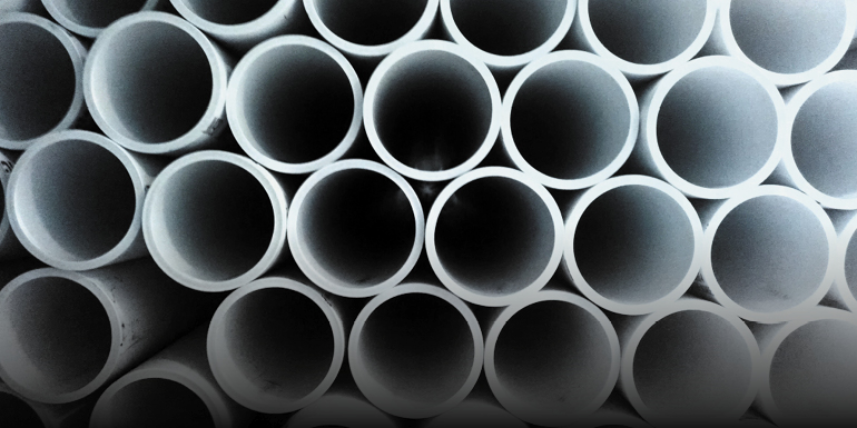
Lightweight, durable, versatile, and inexpensive, PVC is a wonder to work with. Used for a wide variety of plumbing tasks in your house and yard, it is the common mode of transportation for cold and hot potable water, as well as sewage/drainage systems. You’ll often encounter it on do-it-yourself plumbing projects, and may later find yourself turning to it for other ‘creative’ home uses. Learning how to join PVC pipe properly can save you a river of future plumbing troubles, so we’ll get down to the nitty-gritty of things here in this tutorial.
What You’ll Need
- PVC or CPVC pipe & fittings
- T-coupling/mission coupling if you’re splicing into existing pipes
- Hacksaw, handsaw or tube cutter
- Miter box (if you struggle cutting in a straight line)
- Deburring tool/utility knife
- Pipe primer
- Pipe cement
- Rags
How Do I Know Which Pipe Type I Need: CPVC/PVC?
PVC and CPVC are two of the most common PVC types found in your local hardware store. White PVC pipes are most often found in exterior applications, such as sprinkler systems. Beige-toned CPVC is approved by most residential building codes for hot/cold water applications, as well as sprinklers.
Finding the ‘Right’ Glue
PVC pipes and fittings are joined together with cement, but this cement provides more than a ‘stick.’ Liquid PVC cement actually melts the surface layer of plastics, gluing them together in a process known as solvent welding. Done properly, solvent-welded joints are stronger than solid pipes. Because of this, different PVC plastics require different solvent cement specifically formulated for use with that material. Color-coded, look for application-specific clear, blue or grey cements for PVC. CPVC cement is typically orange. Multipurpose primer is purple and is used to clean the pipe. (Building inspectors look for these colors to identify the proper cement/process.)
Splicing PVC Pipe
Now that you’ve identified everything you need, you can begin the splicing process, which is actually pretty simple.
- Read cement instructions.
Most adhesives only work within a particular temperature/humidity range. (Rest assured, winter pipe bursts may still be fixed with a heat lamp or portable heater for temperature control.) Note any ventilation requirements, cleaning, and safety recommendations. Also carefully check cement dry times so you’ll know when pipes are ready for (re)use. - Cut the pipes.
Cut the pipes to the correct length via a hacksaw, handsaw, or tube cutter, allowing about ½-inch couplings between pipes. (Avoid power saws, which melt the plastic.) Be careful the cut is straight/square to ensure a good fit. - Prep pipes.
Carefully remove burrs with a utility knife/deburring tool. Check for damage, while wiping with rag to remove dirt/dust. - Attach couplings.
Attach plastic couplings to the other two joints. These will be necessary when T-ing into existing pipes. - Test.
While pipes are dry/unglued, attach them together in a test run to ensure proper fit. Mark them with a permanent marker to help you line them up following the glue application. - Prime.
Apply purple primer to the outer end of the pipe, and the inner part of the coupling/fittings used with the primer can. Do NOT skip this step. - Glue/cement.
Wait 10 seconds, then apply the proper cement for your application. Ensure there are no uncoated areas, then immediately glue the pipe/fittings, pressing them together with a slight twist to ensure even cement distribution. Hold briefly to set. - Problems?
Your first attempt may not go perfectly. You’ll get one shot at joining PVC pipes. If they don’t seat correctly – stop. Don’t force them, or try to separate and re-glue. Discard the fitting and retry to avoid a wet mess later when the water supply is restored.
Branching Out
Now that you’ve got a handle on PVC, build your own PVC gutter cleaner, and maybe a few PVC water cannons for the kids to keep them out of your hair on your next project!
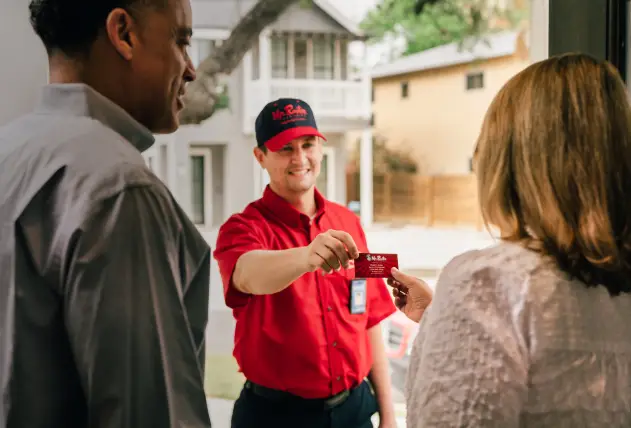
For all your plumbing needs, contact the professionals at Mr. Rooter Plumbing.