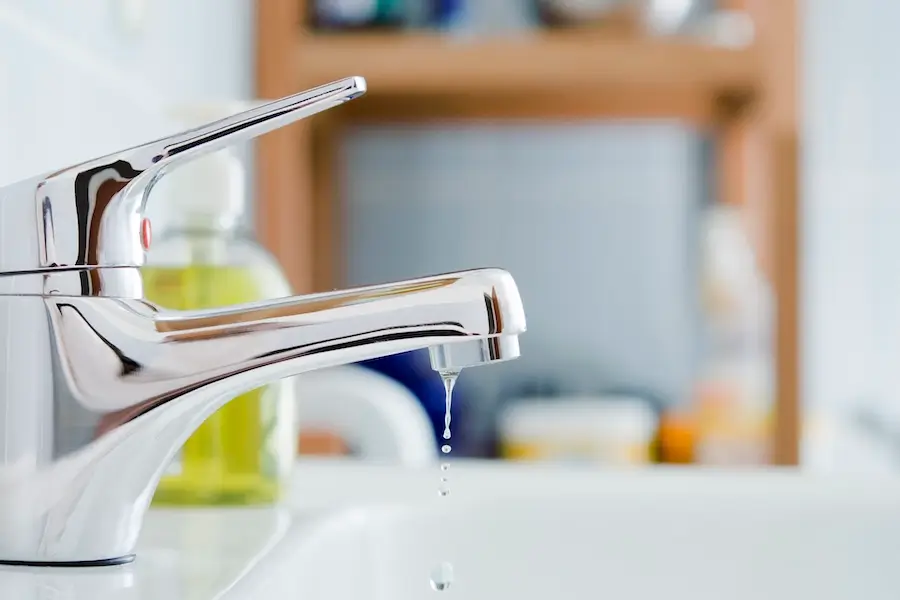
Is your faucet leaking? Listening to a faucet dripping constantly isn’t just annoying; it’s expensive. Letting a leaky faucet drip at a rate of one drip per second can waste more than 3,000 gallons per year!
The good news is that learning how to fix a leaky faucet is a straightforward process. Follow these helpful steps below:
Step 1: Gather Your Supplies
Fixing a leaky faucet requires the proper tools and supplies. Visit your local hardware store and arm yourself with the following:
- Phillips head screwdriver
- Flat-head screwdriver (for prying)
- Wrench
- Pliers
- Penetrating oil (e.g., CRC or WD-40)
- Plumber’s grease
- Faucet replacement parts you need (e.g., replacement O-rings)
Step 2: Turn Off the Water
You don’t want a leaky tap to turn into a flood! Before addressing your dripping bathroom faucet or kitchen faucet, turn off the water supply. The water shut-off valve is usually under the sink. Otherwise, you can locate your main water valve outside and turn off the water supply to your whole house.
Once the water is off, plug the drain with a stopper or a rag to prevent small components from being lost down the drain.
Step 3: Identify Your Faucet
When you’re learning how to fix a dripping faucet, you’ll realize that they aren’t all the same. You must purchase the parts specifically designed to suit your unique faucet. Faucets also come apart and reassemble in different ways.
If you’re unsure which type of faucet you have, take a photo and visit your local hardware store. Alternatively, contact a trusted plumber to fix your leaky faucet for you!
Faucet Types
Whether you’re fixing a bathroom or kitchen tap, it could be any of these:
- Single-handle: Uses one handle for hot and cold water
- Double-handle: Has separate handles for hot and cold water
- Touchless: Has sensors to activate the flow of water
- Pull-down: A faucet that pulls down and can be extended for use
- Widespread: A faucet with separate handles and a spout mounted in the middle
- Wall-mounted: A faucet mounted on a wall above the sink
- Vessel: Works with taller, bowl-shaped sinks
Valve Types
Alongside different faucet types, there can be different valve types, including:
- Compression: These valves are found in traditional faucets with rubber washers
- Ball: Ball valves use a ball mechanism to control the water
- Cartridge: Most commonly found in single and double-handle designs
- Ceramic disk: Designed to be more durable and allows for smooth use
Step 4: Locate the Leak
Where the leak is can determine how you fix it. For example, if you have a compression faucet with leaky handles, fixing the leak can be as straightforward as replacing the O-ring. Take these steps:
- Take the decorative cap off the handles
- Remove the stem to expose the O-ring
- Replace the old O-ring with the new one
- Repeat on the other handle if necessary
If you notice a leak from the spout, this can be a little more challenging to fix. What’s more, learning how to repair a leaky faucet at the spout can be hard when every tap is different. If you aren’t confident repairing a leaky spout, contact a licensed and insured service professional for help.
Helpful Tips for Leaky Faucet Repairs
When learning how to repair a leaky faucet for the first time, it can be helpful to have a few tips and tricks up your sleeve. Keep these points in mind:
- Avoid scratching the finish of your faucet when removing parts with a wrench or screwdriver by wrapping the tool in a cloth to protect the surface.
- If the handle stem of your compression faucet is difficult to remove, apply penetrating oil, such as WD-40, to loosen it and make the removal process easier.
- Most kitchen and bathroom faucets feature several small components that may be unfamiliar to you. We recommend taking pictures as you go and laying out parts on a towel in the order you removed them to make reassembly easier once the task is complete.
- In the case of older faucets, some parts beyond just the O-rings may need to be replaced. Soak any items coated with mineral deposits in a bowl of white vinegar for several hours. This will loosen the scaling and allow you to assess whether the parts are reusable. If not, you may need to replace the parts or purchase a new faucet if the necessary parts are unavailable.
- If you’re not confident learning how to repair a leaking faucet in the bathroom, kitchen, or laundry, don’t hesitate to contact a licensed and insured plumber to take care of it.
Call Mr. Rooter Plumbing® for Leaky Faucet Repairs

Is your kitchen or bathroom tap dripping? Do you have a leaky shower or bathtub faucet? Contact Mr. Rooter Plumbing® for stress-free faucet repair services! We can repair, replace, and install faucets in kitchens, bathrooms, utility rooms, and other parts of your home. Request a job estimate online or call your locally owned and operated Mr. Rooter Plumbing® today.